|
Summary
Get the phone's IP address
Configure your phone with your VoIP Switzernet account
Get the phone's IP address
 Retour Retour
The phone's configuration is carried out through its web interface, so you can set up the configuration from your computer.
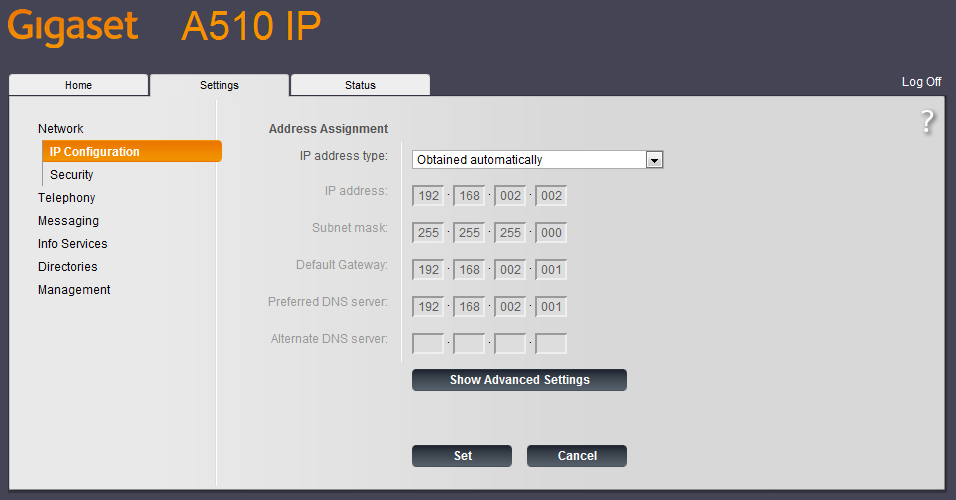
To access the web interface you need to know the phone's local IP address. You can get it thanks to a menu.
Pick up the phone and go throw the following path: Menu > Settings > System > Local Network > IP Address. You will see the phone's local IP address.
For example:
192.168.1.110
- Open a Web browser (Internet Explorer, Firefox, etc.) on your computer
- Type the phone's IP address in the Web broser. In our case: http://192.168.1.100
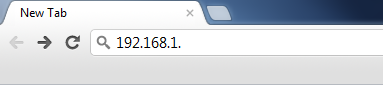
- Press Enter in your keyboard
Now, you should be in the phone's login web page:
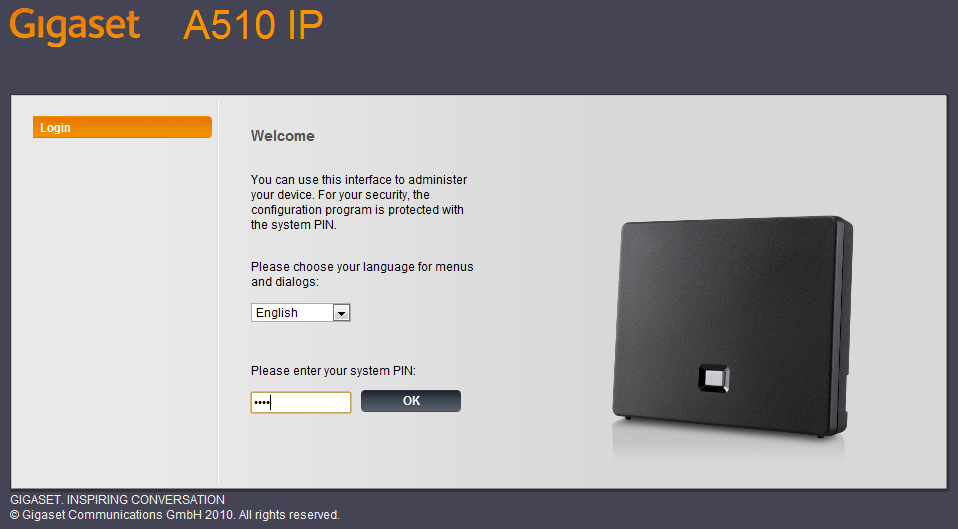
Type the user password (by default "0000"), and click on "Login" button.
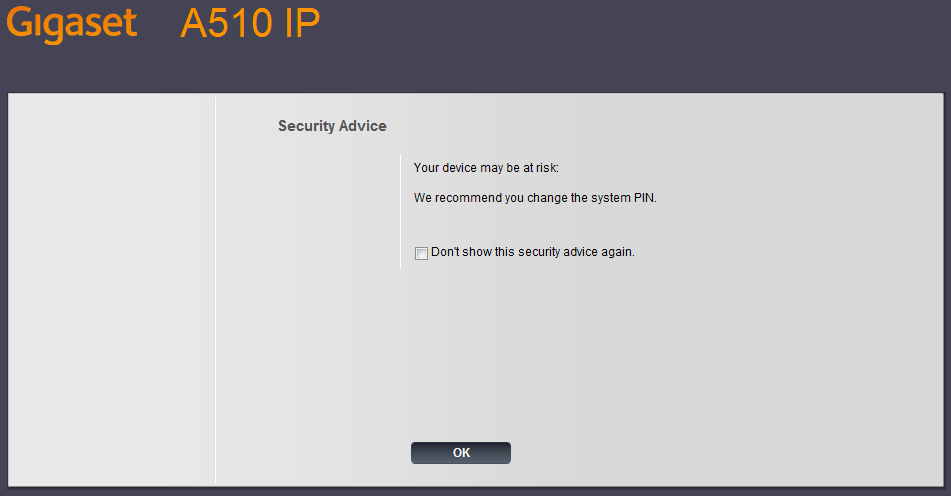
Skip the security advice clicking on "Ok" button.
Configure your phone with your VoIP Switzernet account
Retour
Click on the "Settings" tab.
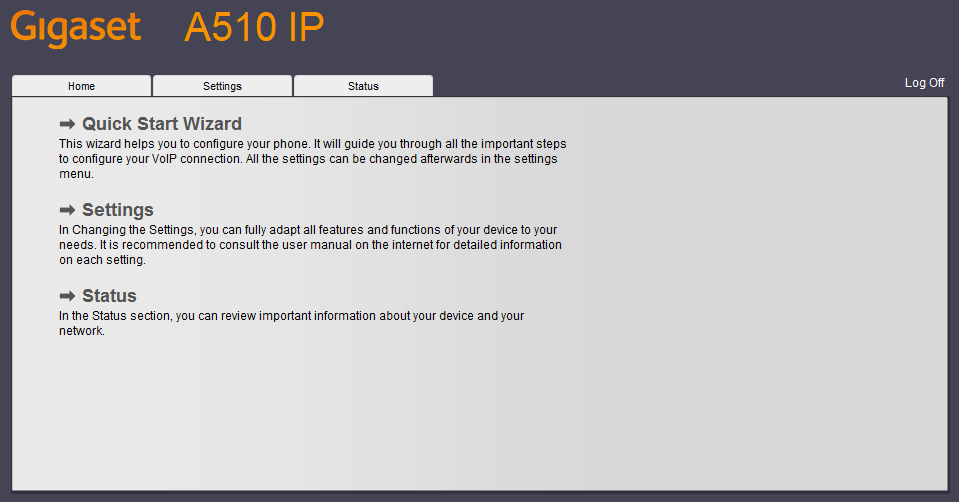
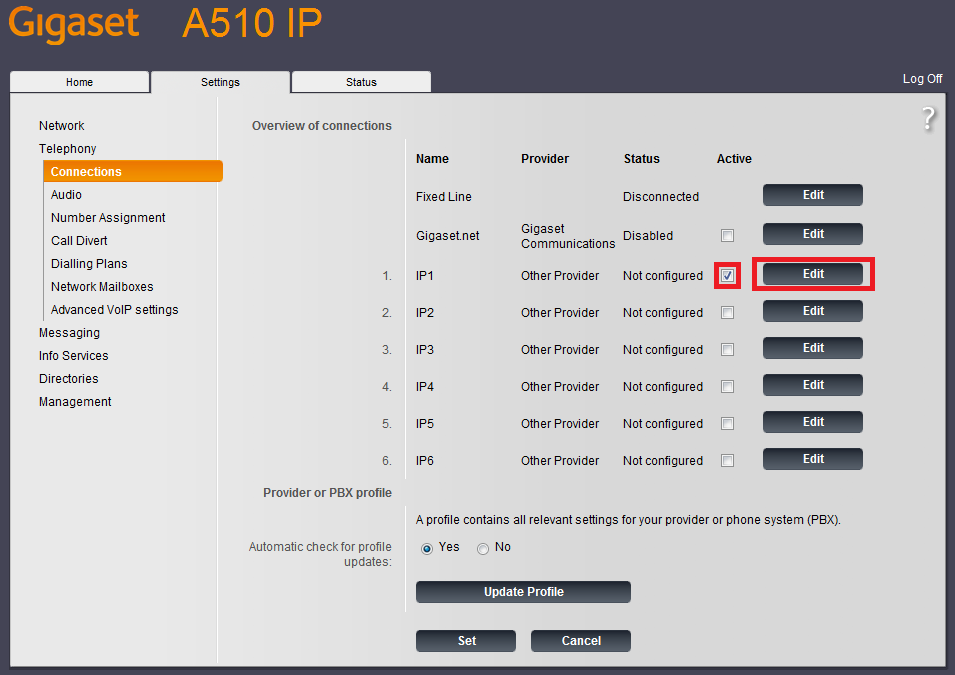
Now you are on the "Settings" menu. On this menu, you should click on "Telephony".
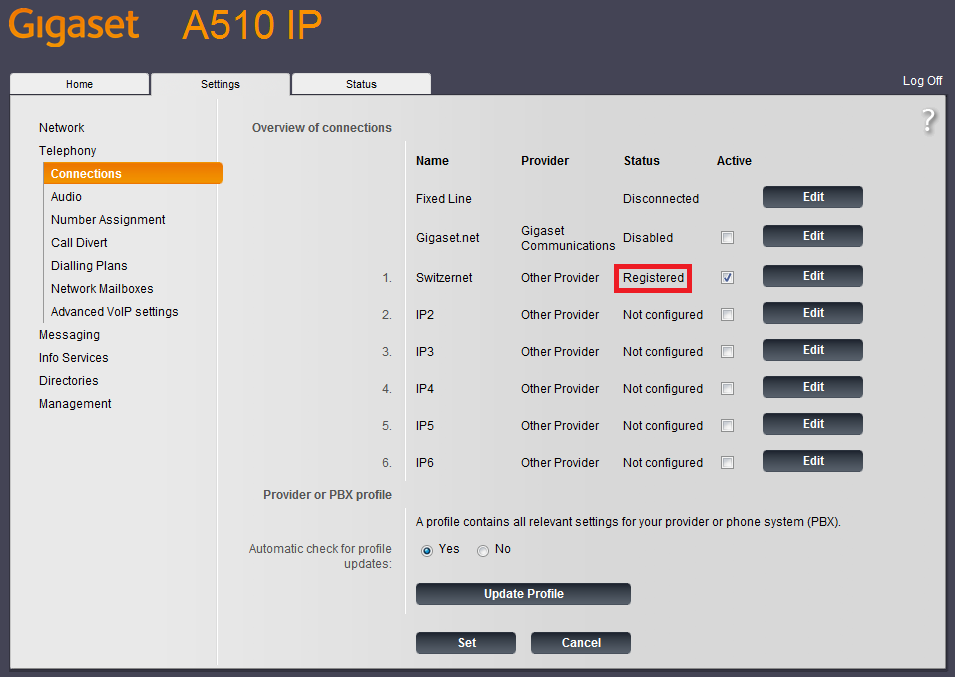
On the "Telephony Connections" menu, select the line you want to configure and click on "Edit" button.
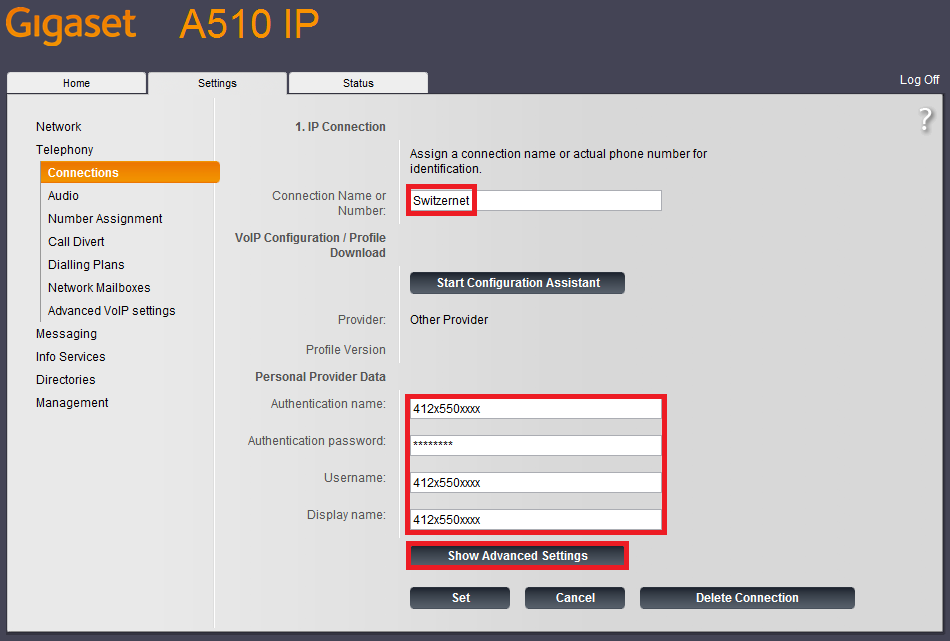
Now, complete the basic parameters with your Switzernet information as shown in the picture below and click on "Show Advanced Settings" button.
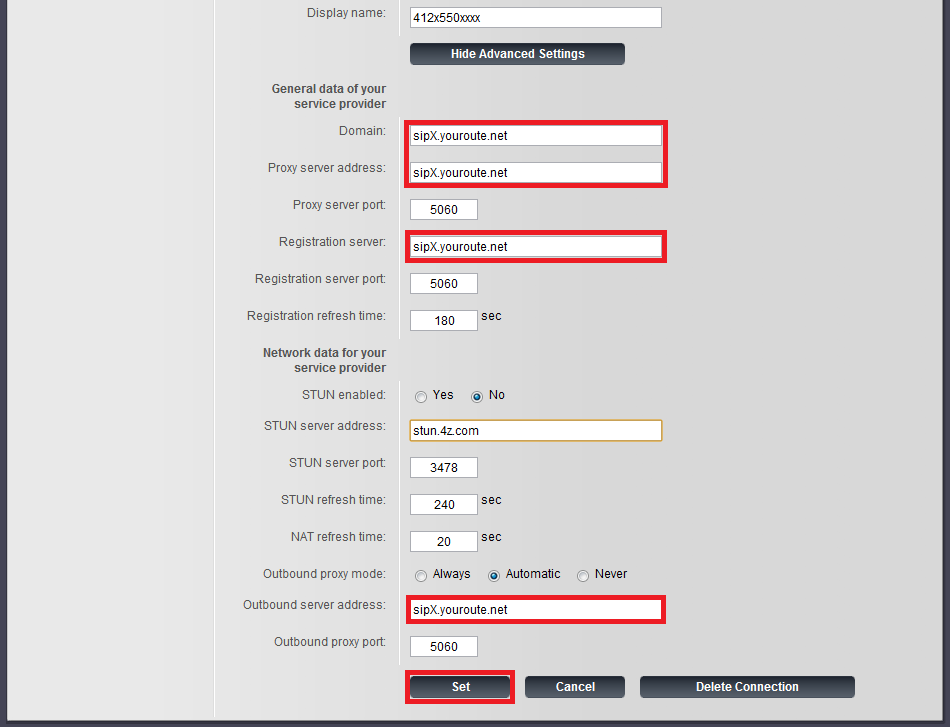
Complete the advance settings with your Switzernet server information as show in the picture below and click on "Set" button.
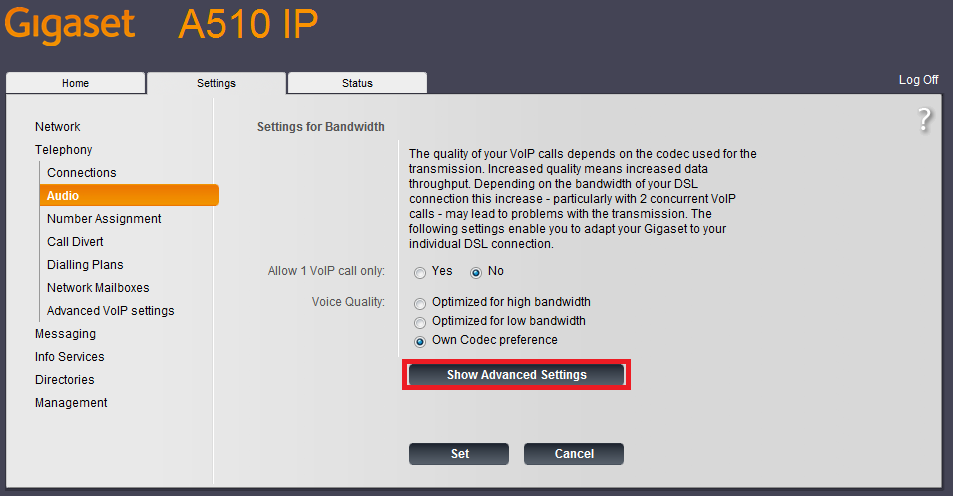
Go to "Audio Settings" menu and click on "Show Advanced Settings" button.
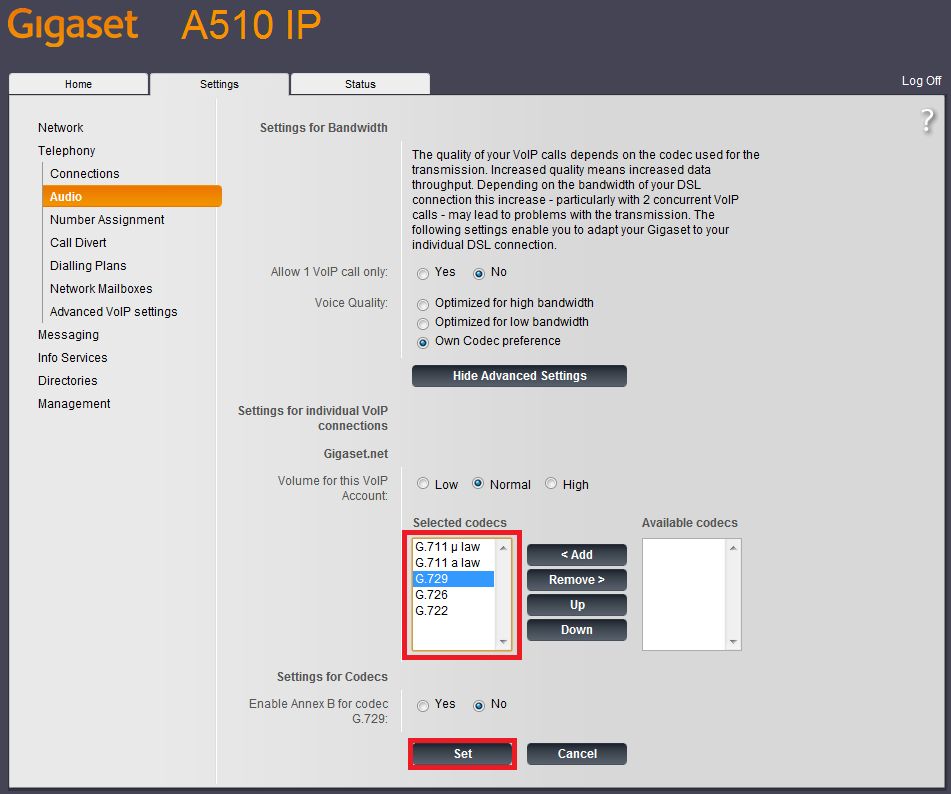
Check if the codecs are sorted as in the picture below. If not, arrange them as shown and click on "Set" button.
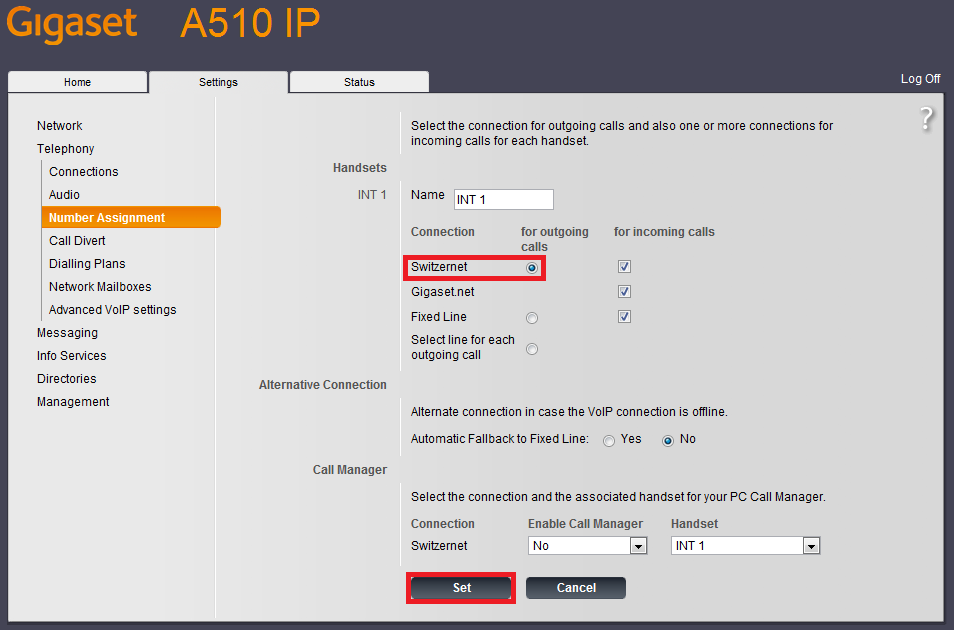
On the "Number Assignment" menu, select your Switzernet line for the outgoing calls. Don't forget to click on "Set" button.
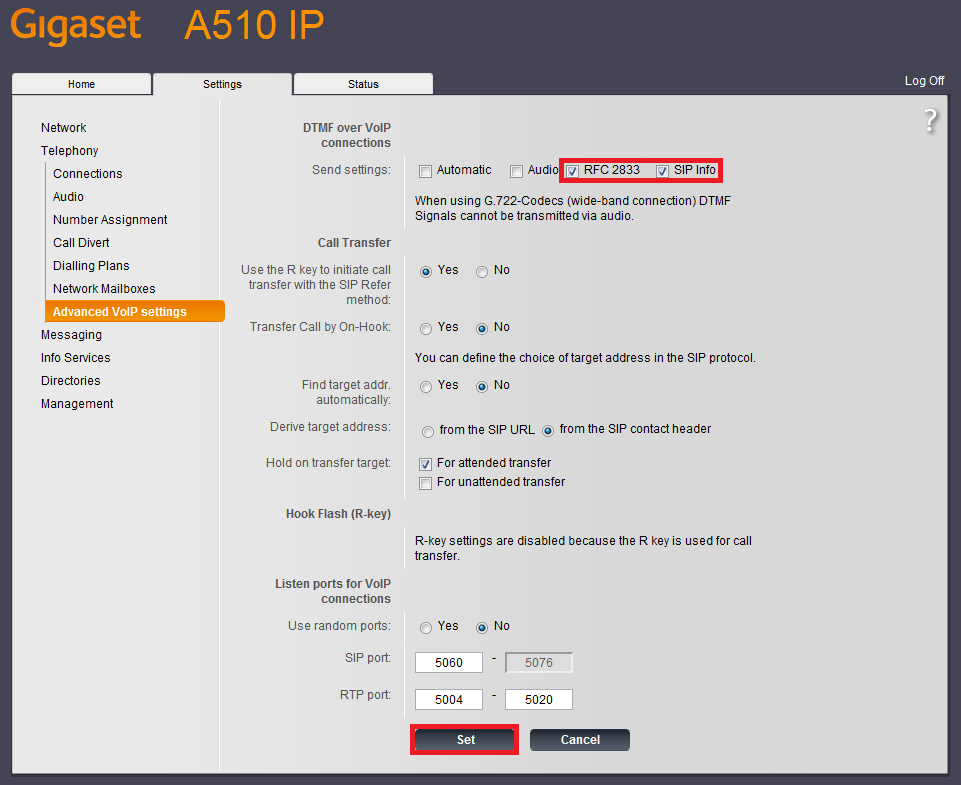
Finally, go to "Advance VoIP settings" menu and uncheck the "Automatic" option.
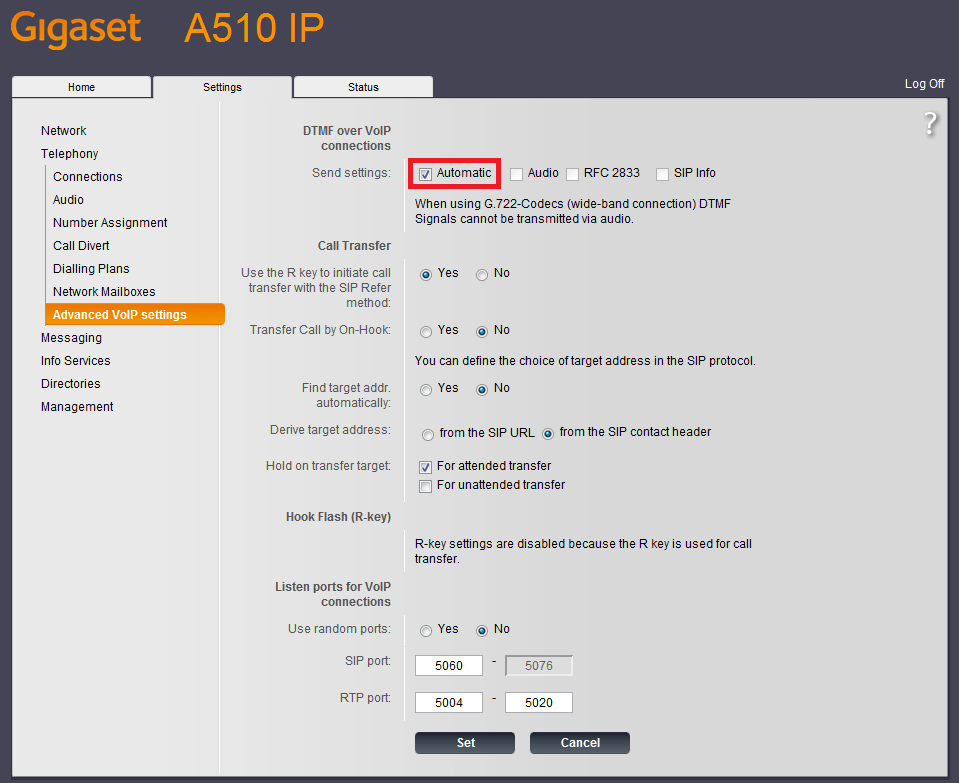
Check the "RFC 2833" and "SIP Info" options.
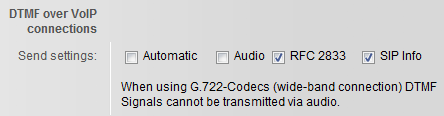
And click on "Set" button.
Now, the Gigaset A510 IP is configured and connected to your Switzernet account.
If you pick up the phone, you should listen the line signal. Since this moment you can use your Switzernet VoIP line.
|