|
Summary
Get the phone's IP address
Configure your phone with your VoIP Switzernet account
Get the phone's IP address
 Return Return
The phone's configuration is carried out through its web interface, so you can set up the configuration from your computer.
To access the web interface you need to know the phone's local IP address. You can get it scrolling through the phone's menu:
Press and hold the "Sysinfo" button.
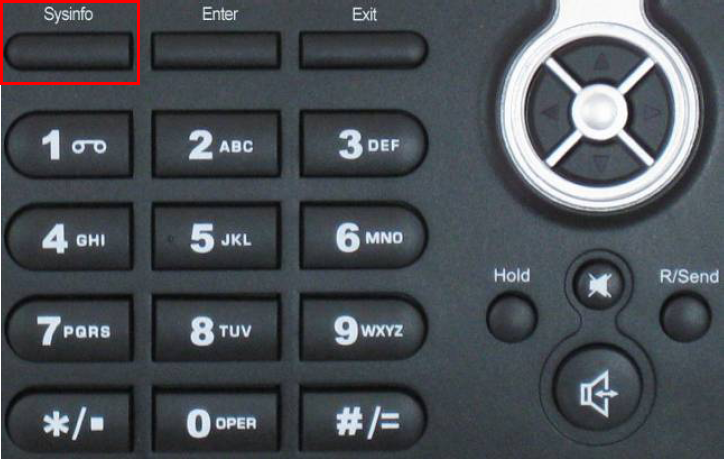
You will see the following info on the phone's display:
- Gateway IP address (usually: 192.168.1.1)
- Your phone number (if it is first time configuration it will be displayed NULL instead the phone number
- Your phone IP address (usually it looks like: 192.168.1.xxx)
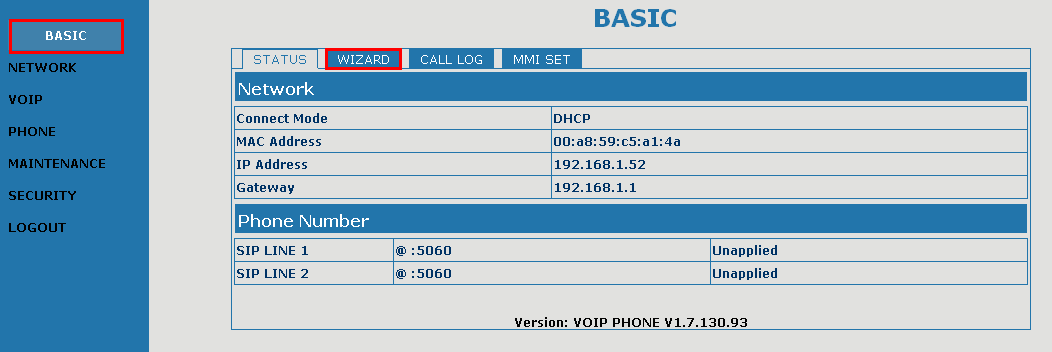
For example, our phone has this IP address:
192.168.1.52
Once we have the phone's IP address, open a Web browser (Internet Explorer, Firefox, etc.) on your computer and type the phone's IP address in the Web broser. In our case: http://192.168.1.52
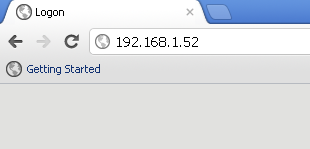
Press "Enter" in your keyboard to load the login menu.
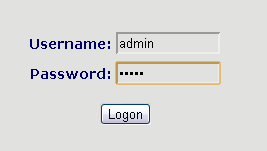
Type the user (by default "admin") password (by default "admin"), and click on "Logon" button.
Configure your phone with your VoIP Switzernet account
Return
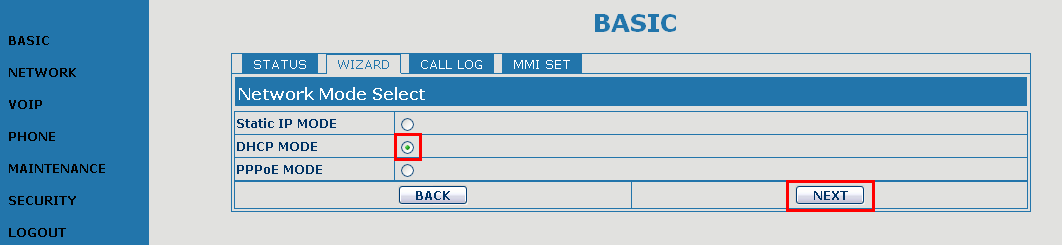
On the "BASIC" menu, click on the "Wizard" tab.
Now you are on the "Wizard" menu configurations that will help you to configure your Switzernet account easily. First step is to select the DHCP MODE option and click on "NEXT" button to go forward in the "Wizard" menu.
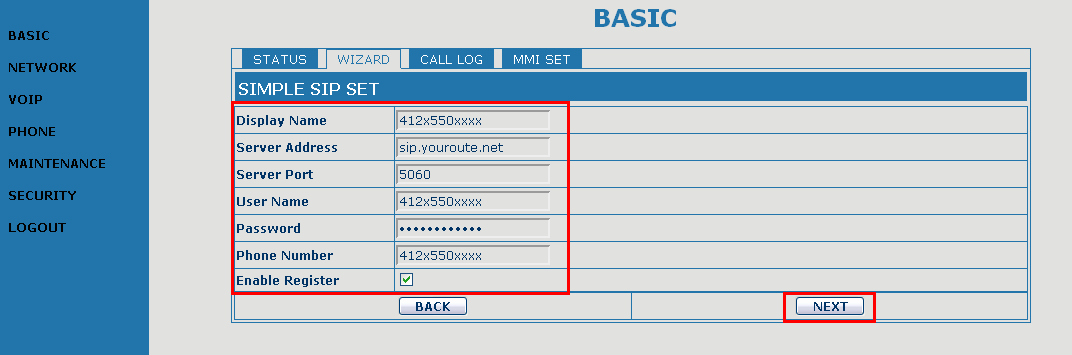
Set up your Switzernet account VoIP parameters. Server's name ("sip.youroute.net") maybe be different in your configuration settings. Use the server's name that we have provided you in the settings account paper. Click on "NEXT" button to continue with the configuartion.
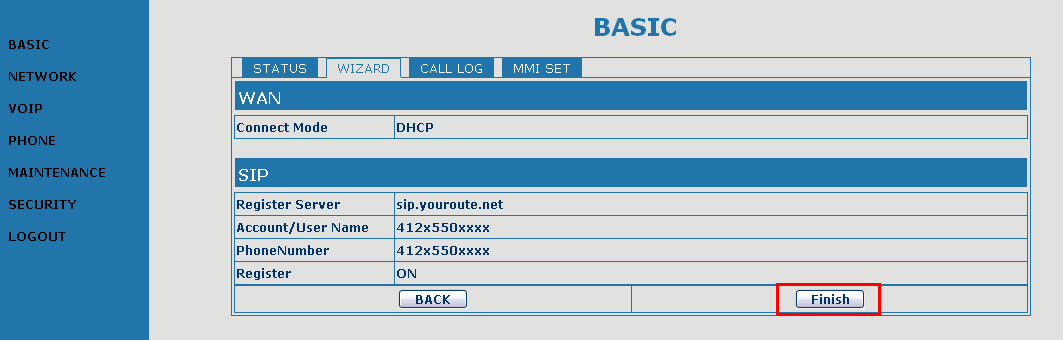
Check that all the parameters that appear on the resume screen are "Ok" and click on "FINISH" button.
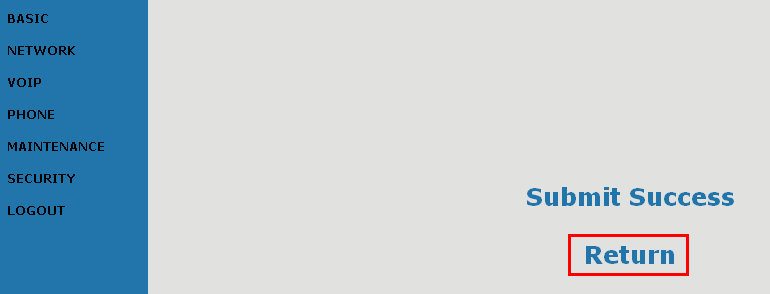
Wait until the phone finish the reboot and click on "Return" button to come back to the confguration menu.
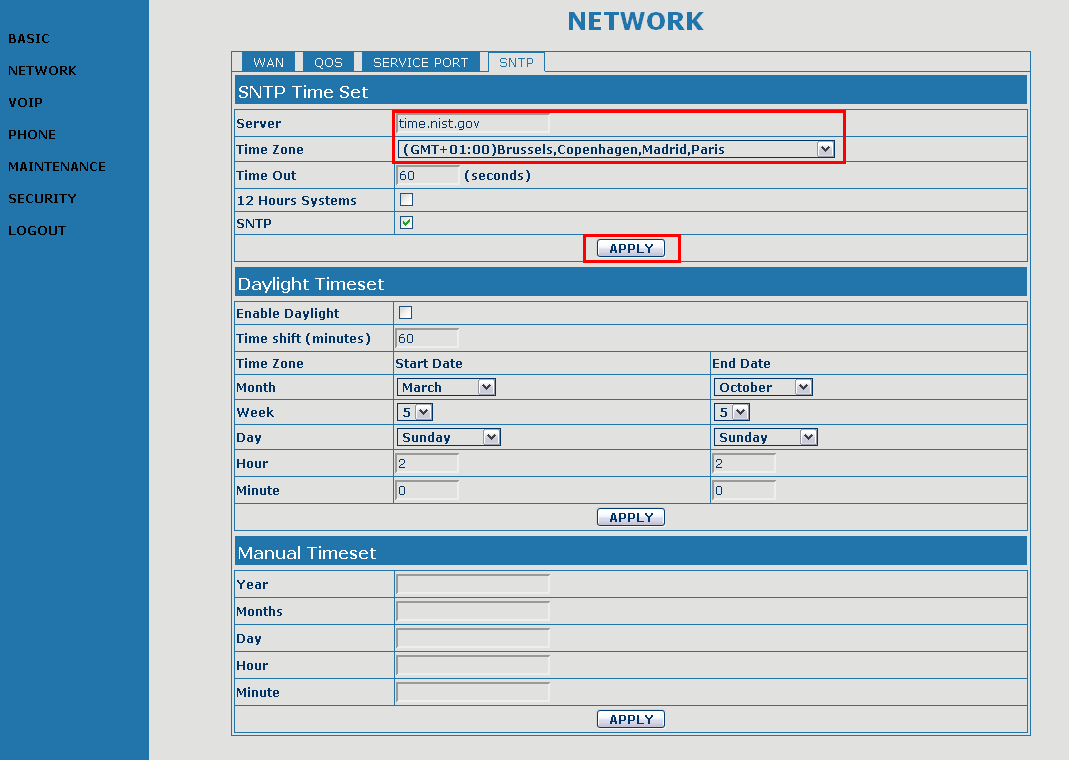
Click on "NETWORK" menu and go to "SNTP" tab.
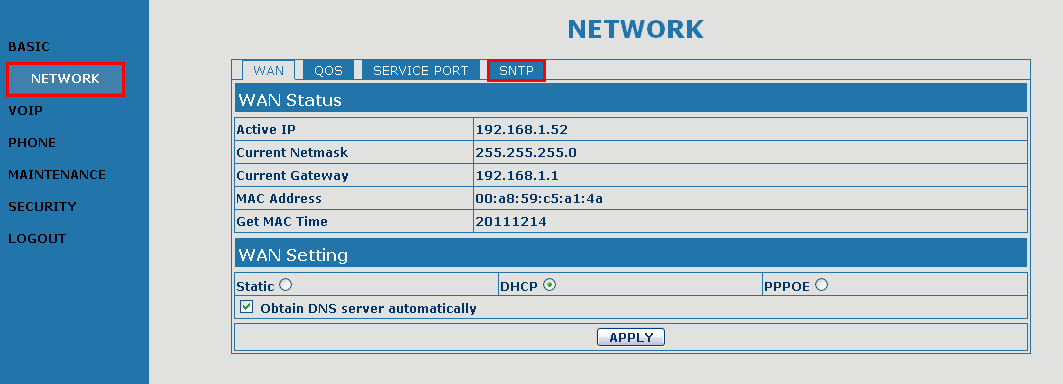
Change the "SNTP Server" and select your "Time Zone". Click on "APPLY" button.
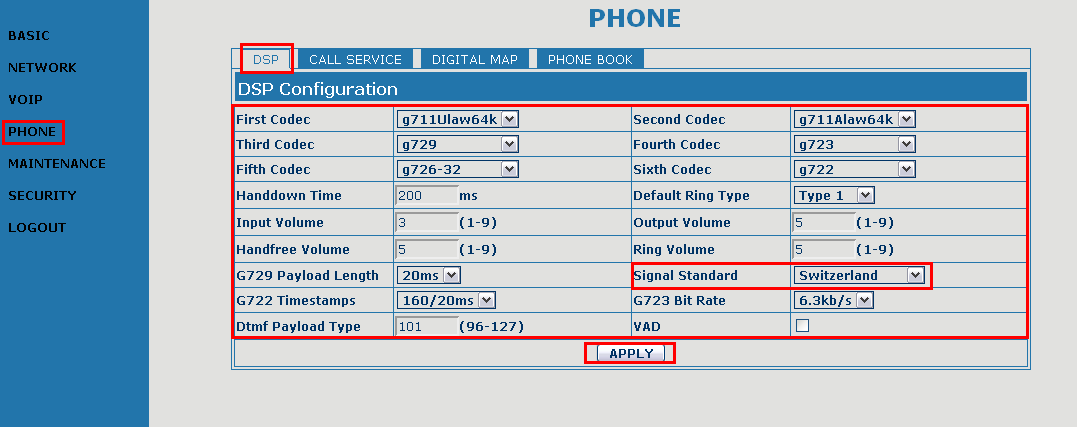
Now change to "PHONE" menu and configure the "DSP" parameters. Click on "APPLY" button.
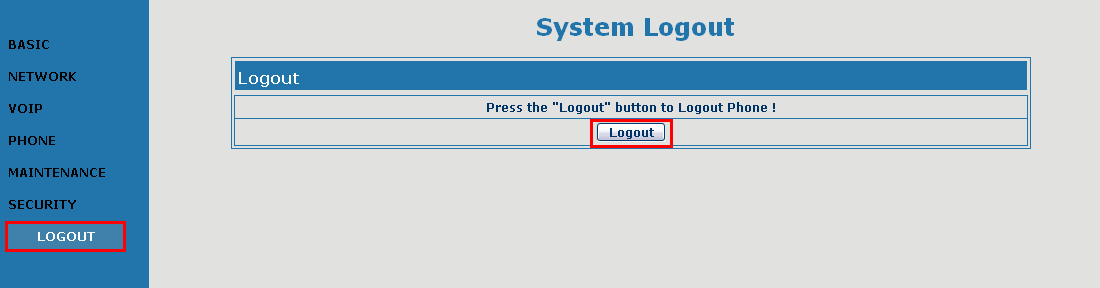
Finally, go to "LOGOUT" menu and click on "Logout" button to finish the configuration session.
|